Hacking with Swift: Live!

A couple of weeks ago, I attended the first ever Hacking with Swift: Live! conference in Bath, England. Helpfully, Bath is less than an hour away from where I live so it seemed like a great opportunity to attend a conference while still getting to see my family. And it was fantastic!

If you’re not familiar with Hacking with Swift, it’s a website run by Paul Hudson. Paul is a one-man tutorial machine. I have no idea how he produces so much content. He’s written 15 books on Swift and Apple’s platforms, and his website contains a ton of free articles, tutorials, and videos all about Swift. His SwiftUI content has been really helpful, and again I don’t know how he created so much of it so soon after WWDC.

Hacking with Swift: Live was Paul’s first attempt at running this conference and I think it was a huge success. The venue was modern, clean, and bright, the wifi worked excellently, and the food was really good. There were around 200 attendees which felt like just the right number to me. The format of the event was a little different than other conferences I’ve attended before.

Day 1

Day 1 was quite standard conference fare, with 8 talks from some fantastic speakers: Cory Benfield (Apple), Kelly Hutchinson, Kilo Loco, Ellen Shapiro, Sally Shepard, Daniel Steinberg, John Sundell, and James Thomson. I particularly enjoyed:

  • Cory’s explanation of an easy place to get caught out in terms of performance with Swift’s copy-on-write behaviour.
  • Ellen’s talk about the Swift package manager, and using Swift scripts and tools to improve your development life.
  • Daniel’s talk, which cleverly walked through a SwiftUI example by calling out which Swift Evolution proposals were responsible for which pieces of syntax, and explained how they worked.
  • James’s history of easter eggs in Apple’s software.

But they were all great! The videos are all available on YouTube, and you can find links in this post on hackingwithswift.com.

Day 2

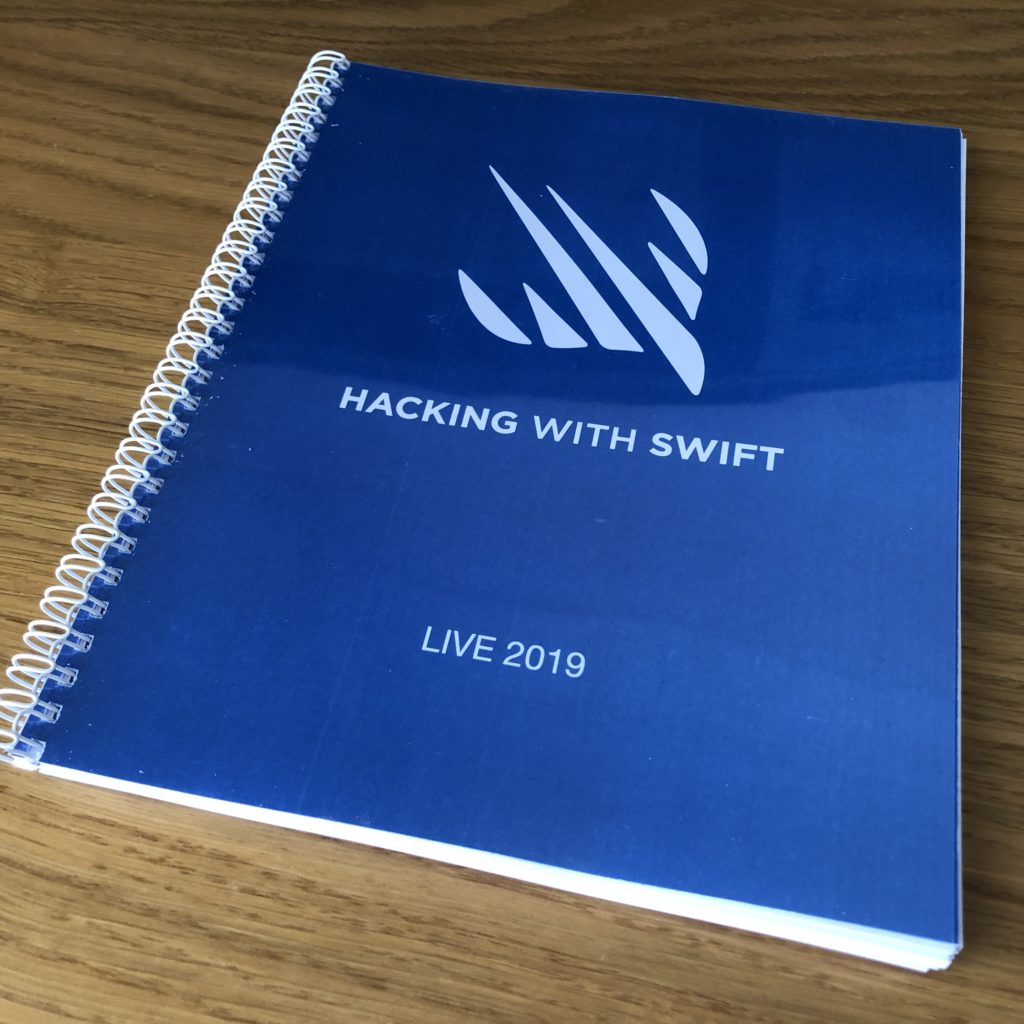
Day 2 was one big workshop. Paul literally wrote a book just for the conference, with 3 large example apps covering most of the big iOS 13 features. We then spent the day following along on our laptops as he led us through each tutorial. It was great to get a chunk of dedicated time working through a real example using the new features.

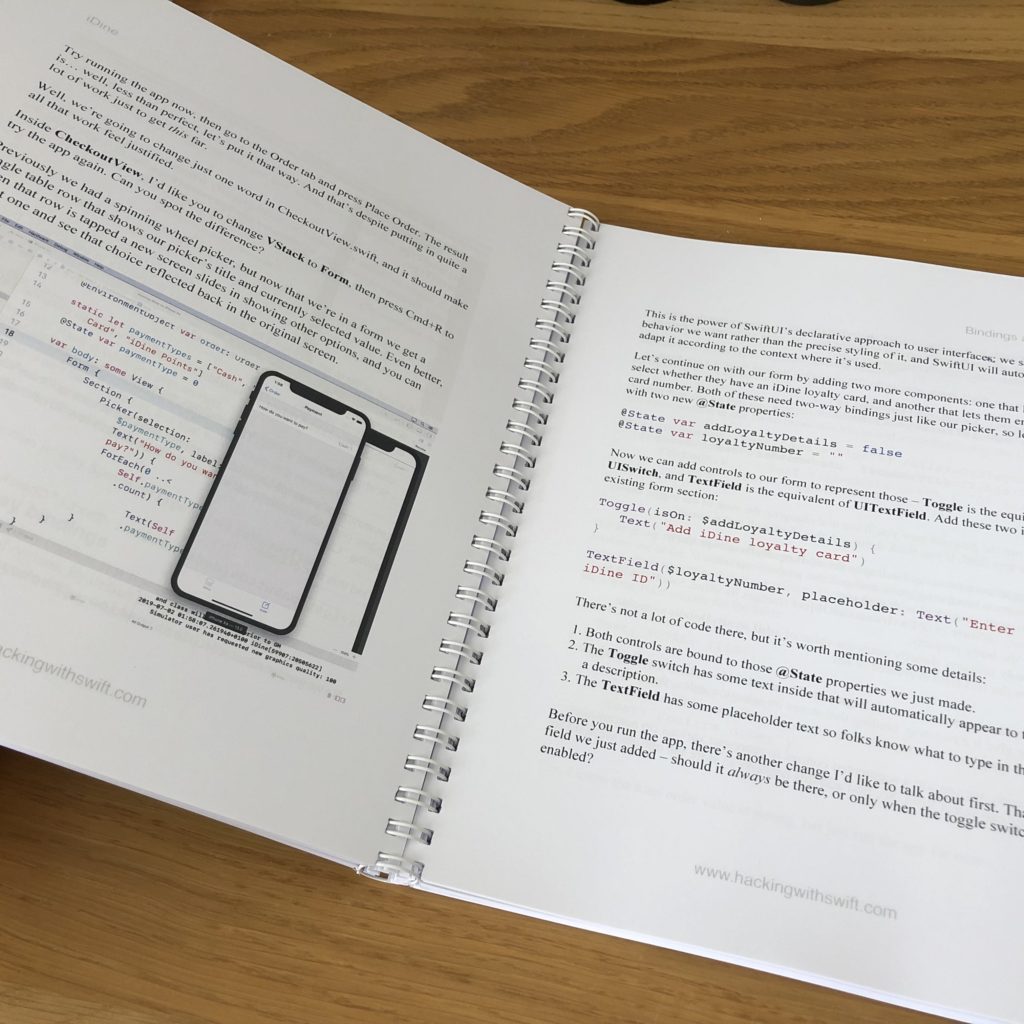
I particularly enjoyed the morning, which was all SwiftUI. I have to say I have been somewhat skeptical about SwiftUI up until this point (these kids and their new-fangled technologies, what’s wrong with the way we do it now? grumble mumble), but using it for a couple of hours… wow is it quick and convenient to build a UI and preview it.

The SwiftUI demo app we built

The other standout new pieces of API were diffable data sources (they clean up so much code!) and compositional collection view layouts.

A good cause

All of the proceeds from Hacking with Swift: Live went to charity. The conference supported Special Effect, a charity that “puts fun and inclusion back into the lives of people with physical disabilities by helping them to play video games”. It seemed like a great cause, and the conference was able to donate $30,000!

Summary

Paul ended the conference by talking about ‘the bigger picture’. How code brought us all together, but it’s not the most important thing in any of our lives, and how we should think about the difference we can all make in the wider world. He also said how proud he was to bring everybody together to his home town, and brought his family onstage to say they were his reason for doing everything he does. I may have cried a little 😅.

I really enjoyed the event and felt like it could’ve easily been a few days longer (although just two days was quite nice as it limited time away from home). I’m keen to go back next year if they hold it again!

Week Links – 2019/01/20

iPad Pro (2018) First Impressions

Some initial thoughts after trying out the new 2018 11” iPad Pro for a couple of days.

I picked up a new 11″ iPad Pro this week, to replace my original 9.7″ Pro. I’ve been using it for a couple of days now, so here are some of my initial thoughts in no particular order:

    I love the squared edges of the new design. I was surprised to read reviews saying how much thinner and lighter the new iPad feels, as to me it feels marginally thicker (even though it’s actually 0.2mm thinner). It’s also slightly heavier (about 30g). I hope this design is brought to the iPhone next year.

  • The screen feels much bigger (and it is!). iOS and its apps have more room to breathe. Although it would’ve been nice if it were a tiny bit wider to keep closer to the original 4:3 aspect ratio.
  • This thing is a fingerprint magnet! Seems to show up way more fingerprints than my original Pro.
  • I’ve not had a device with ProMotion before, and wow – animations feel super slick. Scrolls like butter.
  • I’m still getting used to how to hold the iPad now that it has thinner bezels. In one hand, you end up with your thumb resting on the edge between the front and side of the device, as the bezel isn’t wide enough to place your thumb there without touching the screen.
  • The majority of the third party apps I’ve tried so far haven’t been updated for the new screen size, which means black bars at the top and bottom of the screen. In landscape, this makes the new aspect ratio (no longer 4:3 on the 11″) even more obvious, and I’m still getting used to it.
  • Face ID works very well, but can be a little awkward in practice due to the camera being situated along just one edge of a device that can be (and is) used in any orientation. Now that the home button is gone, it’s not always immediately obvious where the front camera is when you pick up the iPad – particularly if you’re using it in a dimly lit room. For example, if I’m reading in bed I’ll often hold the iPad in portrait orientation and rest the bottom of it on the bed covers. But half the time it turns out that the iPad is ‘upside down’, so the Face ID cameras get blocked by the bedding. The iPhones X don’t have this issue because the notch helps you know which way is up.
  • This is an incredible, futuristic, fast device. It feels fantastic to hold, looks amazing, and is a joy to use. I’d love to use it for all my computing needs. Xcode for iPad, please!

And a few thoughts on the new Smart Keyboard Folio:

  • The new Smart Keyboard Folio is much sturdier than the old Smart Keyboard Cover, and is certainly much more stable when typing on your lap. The iPad can also now be positioned in at a shallower viewing angle, which is much nicer than the very steep angle of the old cover.
  • I was worried that it’d be difficult to put the iPad into / take the iPad out of the folio, but it’s actually very simple thanks to the magical array of magnets present in the new Pro.
  • The magnets are so strong, it’s now more difficult to collapse the iPad when it’s propped up in the folio. I haven’t yet worked out the right places to grab it without either touching on the screen or mashing on the keyboard.
  • Because the new folio wraps around the front and back of the iPad it does increase the bulk, and it’s even heavier than the Smart Keyboard, which already added quite a lot of weight to the device. Laid flat, the new Pro in the folio is about the same thickness as the thickest part of the old keyboard cover:

Inspecting iOS State Restoration Data

State preservation and restoration allows iOS apps to save state when they’re sent into the background, and restore that state if the app is killed and then relaunched. If you’ve ever implemented state restoration yourself, you may have run into a case where it’d be helpful to see exactly what state iOS was storing.

It turns out that Apple actually provides a tool to help you do just this, but it’s kind of hidden away and documentation is relatively sparse. Fortunately, it’s pretty easy to use. When you run it, it’ll output a structured plist showing all of your encoded objects, their restoration identifiers, and restoration class information. Here’s a step by step guide.

Continue reading “Inspecting iOS State Restoration Data”

WWDC 2016 Developer Tidbits

A collection of some of the smaller Xcode, iOS, and watchOS changes I’ve come across whilst reading Apple’s updated developer documentation during WWDC.

There were some nice announcements from Apple at WWDC yesterday, including a revamped lock screen and notifications for iOS, SiriKit, and a lot of iMessage integration. Whilst scouring the newly-released developer documentation I’ve come across a lot of interesting tidbits that aren’t headline features on their own, so I thought I’d collect them here in case they’re of use to anyone else. In no particular order:

Xcode

  • Some nice improvements to Interface Builder. You can now edit your UI at any zoom level (FINALLY)! The UI for customizing layouts for different device traits has also been revamped, and looks really good.
  • Image and colour literals are now supported in Swift code, including code completion for images that’re in your asset catalog. Simply start typing either color or UIImage.
  • There’s a new monospaced code font in Xcode: SF Mono that seems to match up with the WWDC promo material this year.
  • The simulator features a special version of the Messages app which allows you to see both halves of a conversation between two users. Very useful for testing all the iMessage newness.
  • Xcode 8 supports both Swift 2.3 and Swift 3. If you choose Swift 2.3 for a project, there’s a new build setting that gets set to Yes: “Use Legacy Swift Language Version”.
  • The new memory debugger looks incredible. You can visualize the current object graph, and it can help identify memory leaks / retain cycles.
  • Xcode now highlights the active line when editing.

Foundation

Notifications

  • The User Notifications UI framework lets you customize the appearance of local and remote notifications when they appear on the user’s device.
  • You can also intercept push notifications (through UserNotifications.framework) and handle them before they alert the user. For example, you could download a video and then tell the user it’s ready.
  • Rich notifications are currently only optimized for 3D Touch, and they’ll be providing access to functionality for users of other iPhone models / iPad at a later date.
  • A lot of the existing remote and local notification methods on UIApplication (as well as UILocalNotification itself) are now deprecated in favour of the UserNotifications framework.

UIKit

Core Data

  • NSPersistentContainer looks like it might replace the simple CoreDataStack class I’d add to most new projects. It encapsulates the whole core data stack, and has convenience methods for creating new background contexts and performing background tasks.
  • NSManagedObject gets a few new methods – init(context:), fetchRequest(), entity().
  • Xcode should be able to automatically generate classes for Core Data entities, but I’ve been unable to get this to work so far.
  • NSManagedObjectContext now has an automaticallyMergesChangesFromParent property to do the NSManagedObjectContextDidSaveNotification observation and merging automatically.

Swift Playgrounds

  • On iPad, XCPlayground is replaced by PlaygroundSupport.
  • You can record videos of coding sessions right inside the app (in the Share menu).

watchOS

  • Glances have gone completely in watchOS 3. Your app should now display and update glanceable information when the user has it in their Dock.
  • If the user has your complication on their watch face, your app will be kept in a ready-to-launch state.
  • WKCrownSequencer lets you directly access information about the crown’s state – whether it’s rotating, how fast, and when it’s stopped.
  • SpriteKit and SceneKit on the watch is cray-cray. The State of the Union contains a cool demo where a notification on the watch contains an animated 3D SceneKit scene.
  • You can now access information about the watch’s orientation, crown position, wrist location, etc in WKInterfaceDevice
  • If you’re using a watch app, whenever you lower and raise your wrist, you’ll get taken right back into the app, for up to 8 minutes.

SiriKit

  • SiriKit is limited to only certain domains:
  • Audio or video calling
  • Messaging
  • Sending or receiving payments
  • Searching photos
  • Booking a ride
  • Managing workouts

Misc

  • If you’ve indexed content for your app with Core Spotlight, you can now search it programmatically in-app using CSSearchQuery. A user can also continue a Spotlight search inside your app.
  • Speech recognition is now possible, through the Speech framework and SFSpeechRecognizer.
  • You can set an expiry or exclusions for pasteboard data for the new universal clipboard.
  • iOS 10 drops support for the iPhone 4S, iPad Mini, iPads 2 and 3, and the 5th generation iPod touch.

Calculating App Store Spend

I like buying apps. Perhaps it comes from being an app developer myself, but I like to pay for apps that I enjoy and that I get value from. Designing and building an app takes a huge amount of work, and I hope that paying for an app means that it’s more likely to receive updates in the future.

I’ve recently had a couple of conversations with people who have never paid for an app, which made me curious about just how much I’ve spent over the years. Unfortunately Apple provides no easy way to see this information. but they do send out regular receipt emails when you make a purchase. I’ve always archived these emails in my Gmail account, so I put together a small script to parse them and produce some figures. I mentioned it on Twitter and a number of people showed interest in it, so I thought I’d reproduce it here.

The steps below outline how I retrieved my own emails and ran the numbers; of course, everybody’s setup is different but hopefully you’ll be able to adapt them to your needs. I use Gmail as my email provider and OS X as my operating system, so all of the instructions are specific to that setup.

  1. First of all, you’ll need to tag all of your iTunes receipts with a unique tag. I have a filter set up for the following search, which tags all matching emails with iTunesReceipts:

    from:(itunes store) subject:(your receipt no.*)

  2. Next, download all of your iTunes receipts as .eml files. I used Gmvault to download mine. Grab the tool and extract it. I used the following command to fetch the relevant emails:

    gmvault sync --type custom --gmail-req "in:iTunesReceipts" your_email_address@gmail.com --no-compression

    By default, Gmvault will download the emails into a directory named gmvault-db/db in your home directory.

  3. Nowcd into the Gmvault db directory. You can then either manually download my parser script from the [Github Gist] and run it, or download and run automatically in a single command:

ruby -e "$(curl -fsSL https://gist.githubusercontent.com/frosty/b6d1615dab5544fc22b0/raw/e4e3b48b032079e188c8d3f246b2609b83995558/parser.rb)"
  1. The script will first ask for the currency symbol your emails will use; it defaults to ‘£’ if you just press enter. It should then output a count and combined spend for iOS apps and in-app purchases. It’ll also create a tab-separated file named Apps.tsv, which will contain a list of all of your purchases. You can open this in a text editor or a spreadsheet app like Numbers if you want to.

Notes

  • The script could probably be much neater, but I don’t work with Ruby very often and I just threw it together in an evening!
  • I make no guarantees that this script catches everything or that it doesn’t pick up any false positives. The iTunes receipt format is quite awkward and inconsistent and has changed quite a lot throughout the years. Based on my own receipts, however, this seems to do a pretty good job.
  • If you have a suggestion for ways to improve the script, feel free to fork it on Github!

So how much have I spent on apps? Turns out, it’s rather a lot. But when I average my spend out over the life of the App Store, and consider the amount of value and enjoyment I get from the various apps and games I’ve bought over the years… I think it’s a pretty good deal.

Ascension: Chronicle of the Godslayer

Ascension: Chronicle of the Godslayer is a card game that has some similarities to the popular Magic: The Gathering collectable card game. My first introduction to Ascension was through its well-received iOS version, which I liked so much that I went straight out and bought a copy of the physical game too1. This is primarily a review of the iOS version, but both versions play exactly the same and are equally enjoyable.

Ascension is a deckbuilding game designed by a former Magic Pro Tour champion. I’ve played a small amount of Magic in the past but was put off by the amount of pre-game preparation that is necessary and the sheer number of cards that are available (although I realise that it’s exactly these elements that draw many people to the game).2 I think Ascension struck a chord with me because it’s reminiscent of Magic but (in my opinion) improves upon it in a number of ways.

Continue reading “Ascension: Chronicle of the Godslayer”

Codify

I love the iPad. It’s casual, immediate, and more intimate than a laptop ever will be. There are wonderful apps available for most activities you could want to do on an iPad: reading, writing, drawing, listening, watching, playing; the list goes on. Much of the time when I want to perform some task (or just relax), I will now reach for my iPad instead of my laptop if possible. However, until now I have been unable to use the iPad for one of my favourite pasttimes: programming1.

Enter Codify. Codify is a new iPad app that lets you create simple games, prototypes and simulations directly on an iPad. You write code in the Lua language using a fantastic code editor (more on that later), with an API that’s very similar to Processing. You can then run that code straight away; play your game, experiment with your prototype, tweak your simulation. It’s fast, easy, impressive, and fun.

Codify project selection screen

Continue reading “Codify”

Helsing’s Fire: Quick iPhone Game Review

Helsing’s Fire is a fun, brilliantly presented, innovative puzzle / arcade game for iOS.

Helsing's Fire screenshots

You play as Van Helsing, on a mission to destroy the foul Count Dracula. To do this, you progress through 90 levels across 3 worlds, all filled with a hordes of monsters. The monsters in each level stand stationary, and are coloured red, blue, or green. To defeat them, you must move your flaming torch, casting rays of light around and between objects scattered across the level. Once your light falls upon the monsters you want to vanquish, you tap one of a selection of coloured potions to match the colour of the monster. This gets tricker as you progress through the game, as you must avoid monsters of a different colour to the potion you’re using. Different types of monster also present other challenges: bats fly around the level once you’ve attacked them, werewolves turn into innocent maidens who you must avoid with your potions, and ghosts turn invisible in your torch’s glare, so you have to remember their locations. The mechanic of casting light and shadows works really well and looks great.

The game is nicely presented, with a good little story, fun characters with humorous dialogue, and catchy gothic tunes to accompany your adventure (I really recommend you play this one with the sound on – or at least the introduction). I especially like the little touches such as the way Van Helsing and his assistant bump fists or high five one another when you finish a level.

The game starts off pretty easy, but there’s a Mario-style difficulty curve where new gameplay elements are regularly introduced, spicing things up a bit.

There are 90 levels in the main campaign mode, including some more arcade-style bosses that fly around the screen and require you to keep your torch on the move to avoid their attacks. Each ‘world’ also has an unlimited, randomly generated survival mode. A recent updated added a new campaign with 30 more levels, some new enemies, and another survival mode arena. I found it to be quite an addictive ‘just one more go’ pick-up-and-play game.

Very good value for 59p – they really should be charging more for this. Highly recommended.

App Store Developer’s website