State preservation and restoration allows iOS apps to save state when they’re sent into the background, and restore that state if the app is killed and then relaunched. If you’ve ever implemented state restoration yourself, you may have run into a case where it’d be helpful to see exactly what state iOS was storing.
It turns out that Apple actually provides a tool to help you do just this, but it’s kind of hidden away and documentation is relatively sparse. Fortunately, it’s pretty easy to use. When you run it, it’ll output a structured plist showing all of your encoded objects, their restoration identifiers, and restoration class information. Here’s a step by step guide.
1. Download the tool
Head over to the Apple “Downloads for Apple Developers” site and expand the restorationArchiveTool for iOS download. You’ll want the restorationArchiveTool.dmg file right at the bottom of the list on the right.
Open the dmg, and drag the restorationArchiveTool binary out to somewhere you can easily access it. I placed mine in my ~/bin directory.
2. Find your app’s Library directory
Next, you need to know the location of your app’s Library directory in the simulator. This is where the restoration data gets saved, which you’ll inspect with the archive tool. The easiest way to find this is to add a line to your app delegate’s application:didFinishLaunchingWithOptions: (or via a breakpoint). Something like this should do the trick:
Objective-C:
NSLog(@"Library: %@", [[[[NSFileManager defaultManager] URLsForDirectory:NSLibraryDirectory inDomains:NSUserDomainMask] firstObject] path]);
Swift:
print("Library: \(FileManager.default.urls(for: .libraryDirectory, in: .userDomainMask).first!.path)")
The path should get logged out to the console when your app launches. It’ll be something like this:
/Users/bob/Library/Developer/CoreSimulator/Devices/1FF2D964-C615-499E-B1D0-8A7DF7343AE5/data/Containers/Data/Application/D6FE3A2C-9553-4270-8262-A94376EF4E5B/Library
3. Get some data
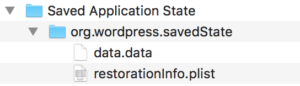
This part’s simple. Launch the app in the simulator, navigate to the part of the app you’re interested in, send the app into the background, and stop the app in Xcode. If you open up the library folder you found in the last step, you’ll see a folder named Saved Application State. Within that, you’ll find a data.data file.
4. Run the tool
Now you need to run the archive tool and point it at the data.data file you just found. In Terminal, enter the following command, but switch out the location of your restorationArchiveTool binary and your app’s data.data as required:
~/bin/restorationArchiveTool --plist --structured -o output.plist /path/to/your/data/file/data.data
And you’re done! You can then open up the generated plist in Xcode. Amongst other things, you’ll see a list of top level objects, keyed by their restoration identifiers. You should notice that the restoration identifiers form a path based upon your view controller hierarchy. You can expand any object to see any extra data it’s encoded.
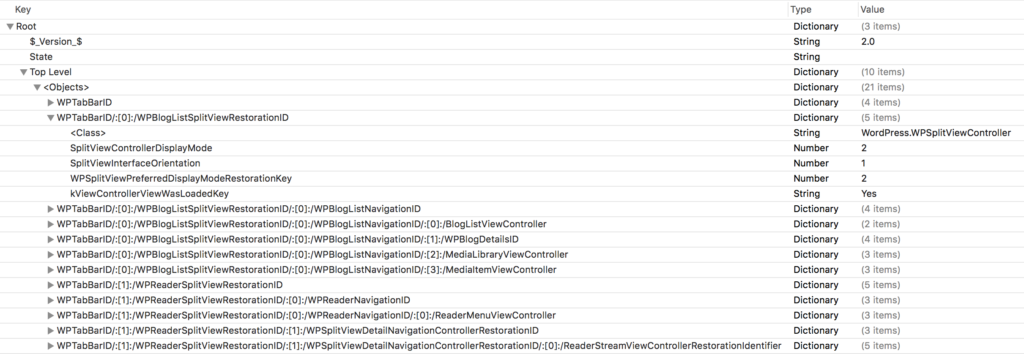
At the bottom of the file, you’ll find a list of restoration classes used by each of the encoded objects.

If you’re having some problems with state restoration, then at the very least being able to see this information can give you some hints about whether your issue is with encoding or decoding. Good luck!