Following my Game Boy Advance screen mod, I decided to try modding an original Game Boy.
There are several screen mods available for the original Game Boy1. Just like with the Game Boy Advance there are IPS screens available, which give you the best image quality. You can also keep the original screen but add a backlight to it, which is what I opted to do. This is much cheaper, and also gives a result closer to the look of the original display.
Supplies
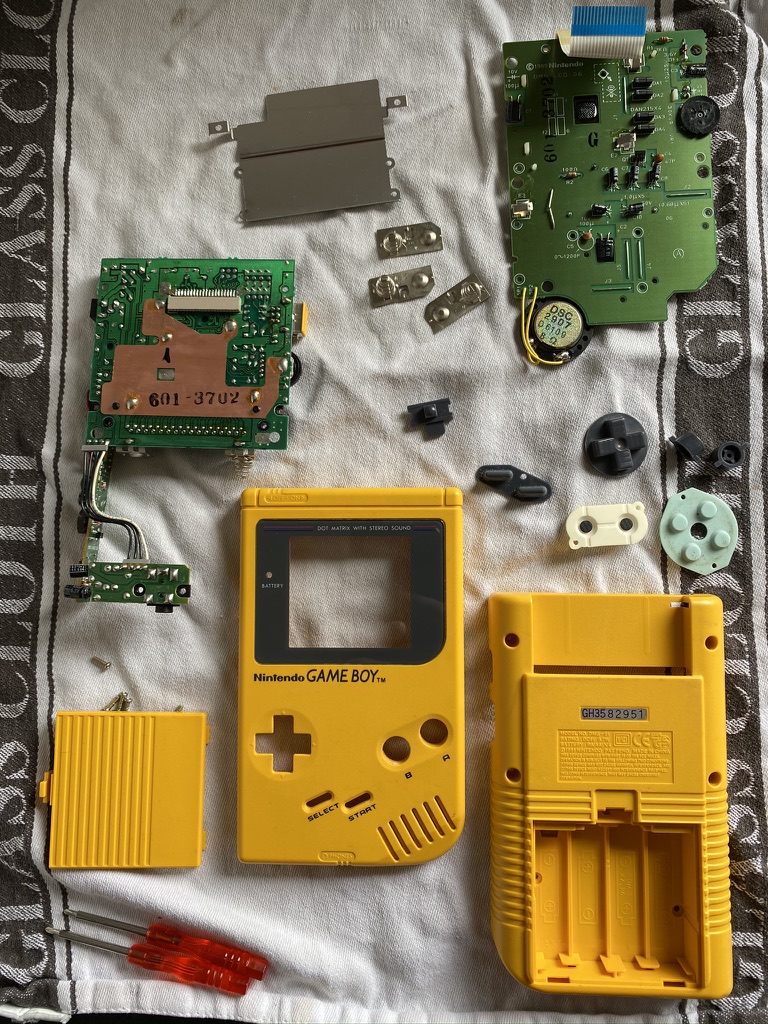
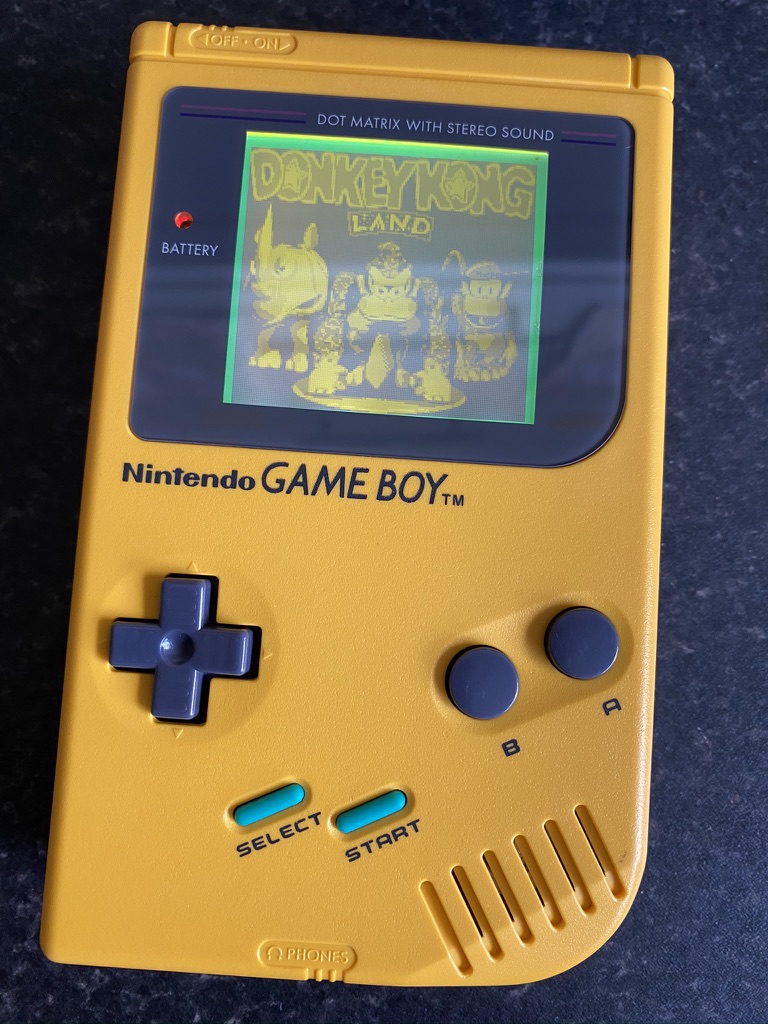
The first thing I needed was a Game Boy! My brother and I had a yellow ‘Play It Loud’ edition when we were younger, which came bundled with a yellow Donkey Kong Land game cartridge. Unfortunately while I have our original games, I’ve been unable to find the Game Boy itself – so I bought another on eBay:


Except for needing a bit of a clean and having a few small scratches on the screen, it was in very good condition.
Next, I picked up a ‘lemon yellow’ backlight kit from Deadpan Robot, as well as a bivert chip. Just adding a backlight makes the screen brighter, but it also washes out the picture. A bivert chip inverts the pixels and in turn increases the contrast. It’s recommended to install one if you’re adding a backlight.
The Mod
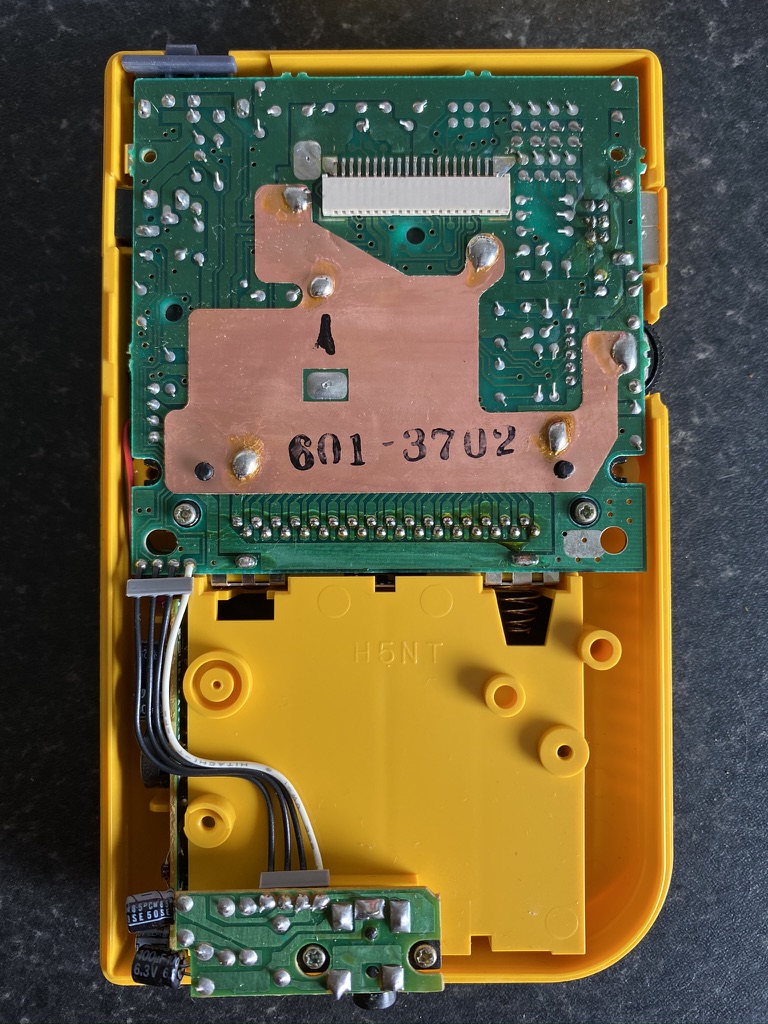
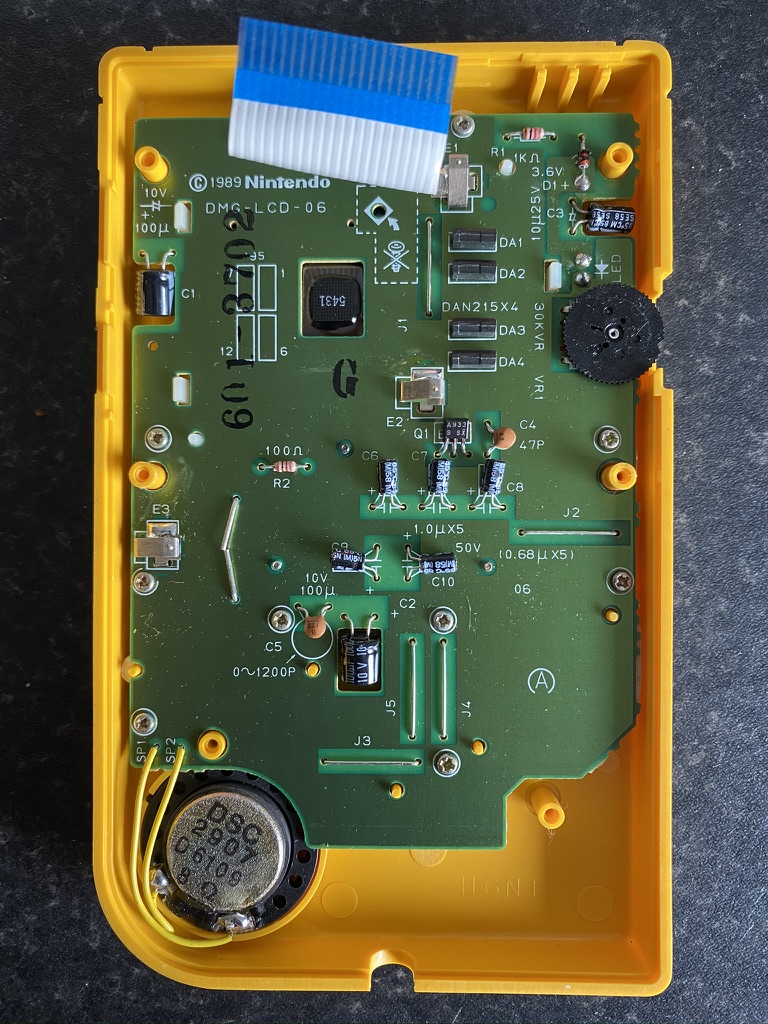
The first step was to disassemble the unit. I also washed the casing, buttons, and silicon pads with mild soapy water.
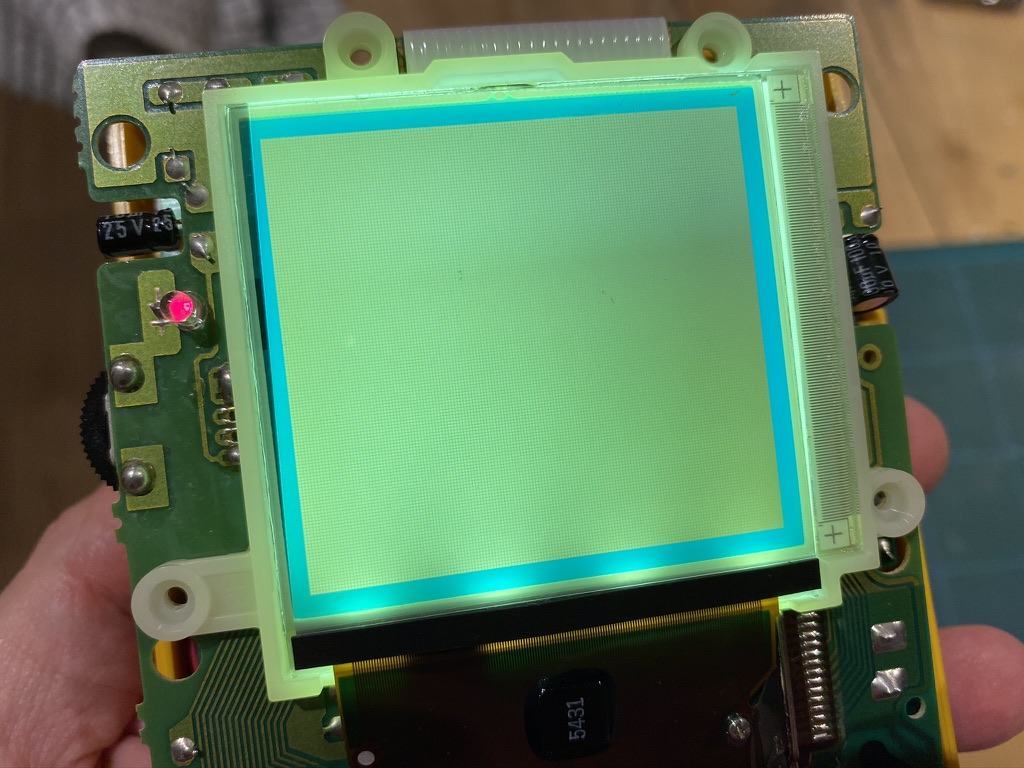
And here’s the screen itself:
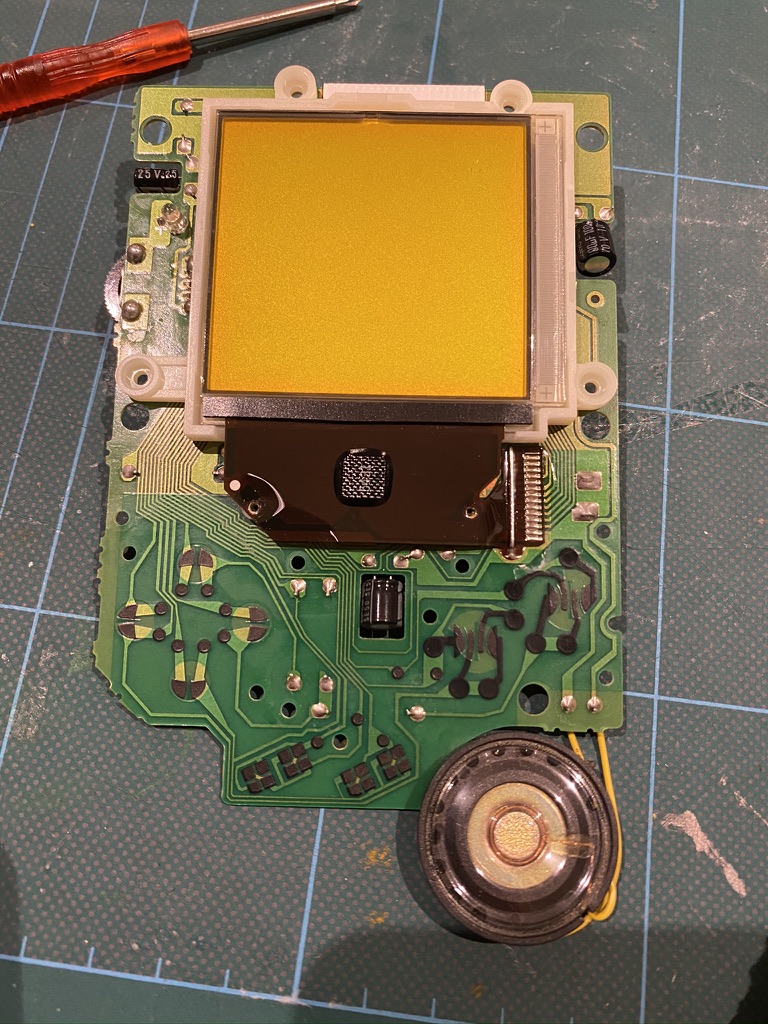
To install the backlight unit, you first need to remove the existing reflective backing and polarizer from the screen. This proved to be quite tricky. At first I was just scraping the foil off, nervous of damaging the screen, but then I got more confident and managed to get a craft knife underneath the polarizer layer. This made it easier to peel the whole thing off in one go.
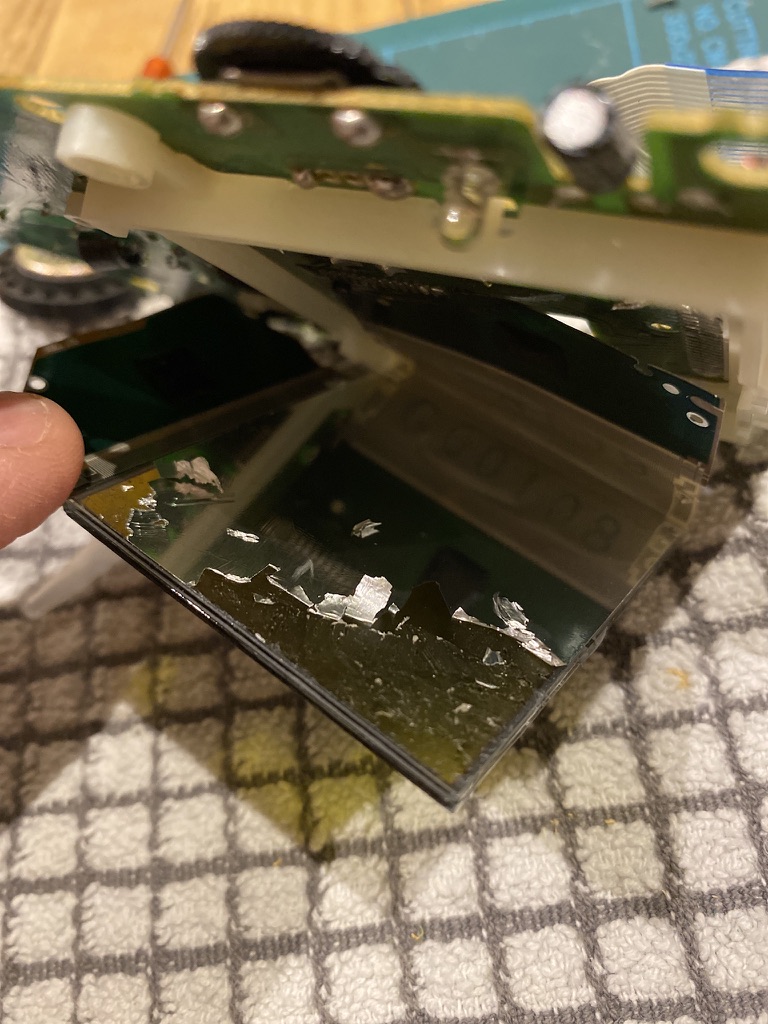
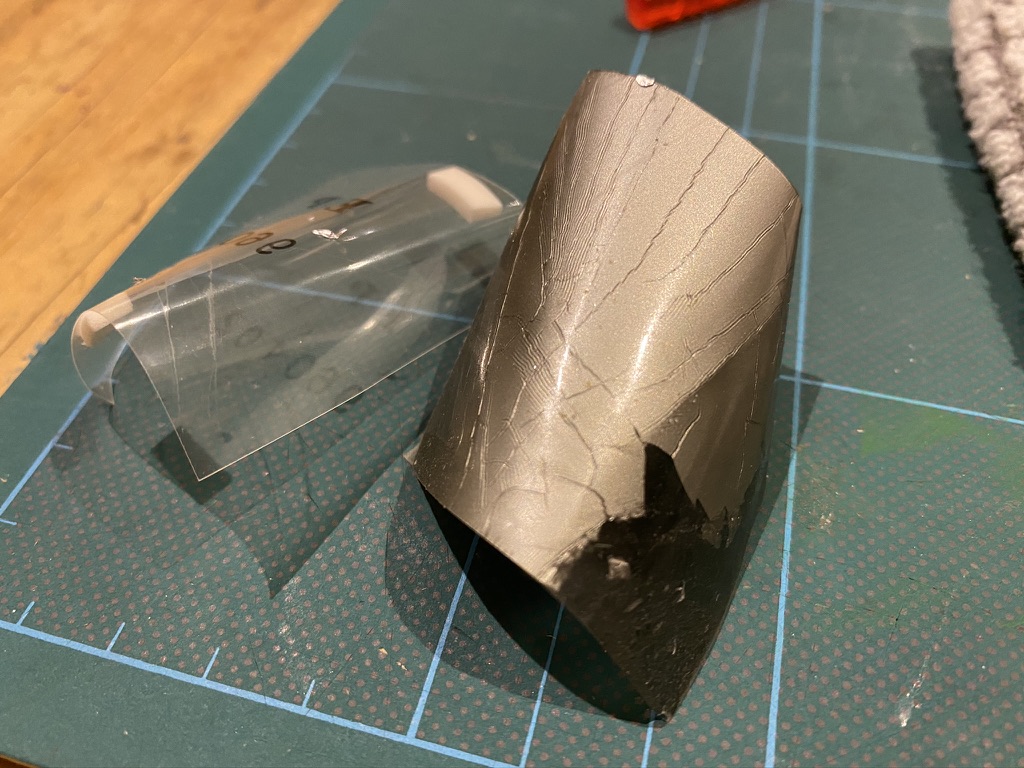
The thing that makes it particularly difficult is that the screen remains attached by a very delicate ribbon cable, so access is tricky. After peeling the polarizer off, I cleaned off the remaining glue with some isopropyl alcohol.

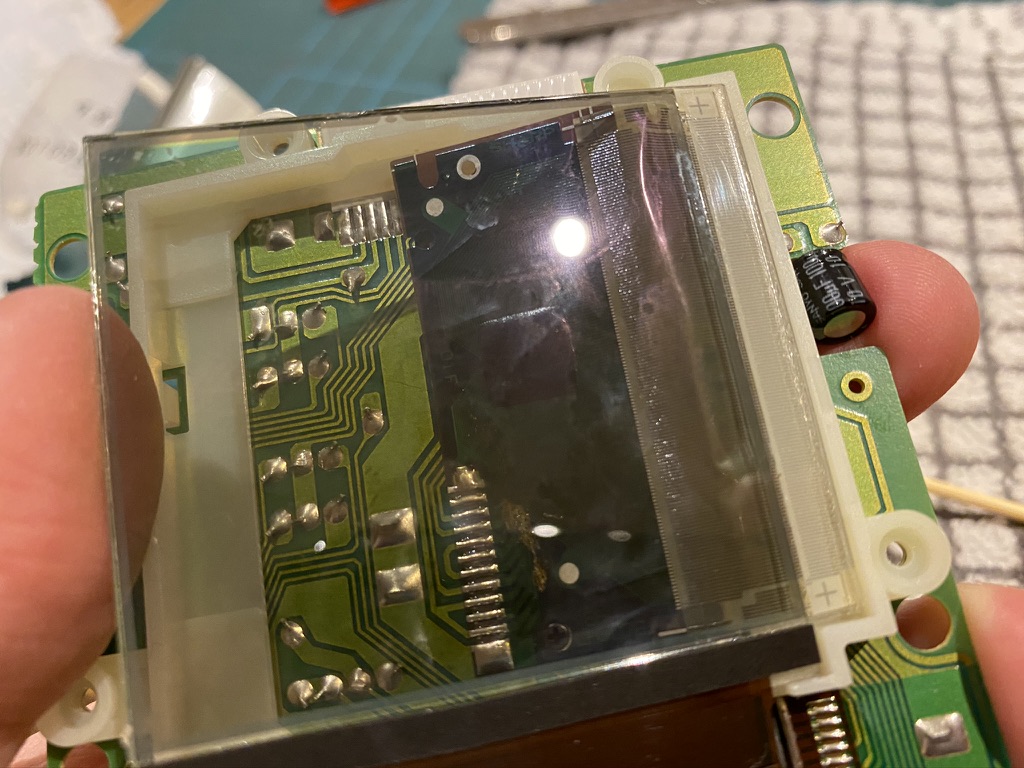
The new backlight panel (a piece of plastic with some LEDs attached to the bottom) slides in behind the LCD, and the polarizer goes in between. You have to make sure the polarizer is rotated the right way so that the pixels will be visible. The guide I was following also recommended lightly dusting the polarizer with baby powder or diatomaceous earth to avoid it sticking to the screen.
Finally, the two wires coming from the backlight panel needed soldering to the main board along with a resistor.
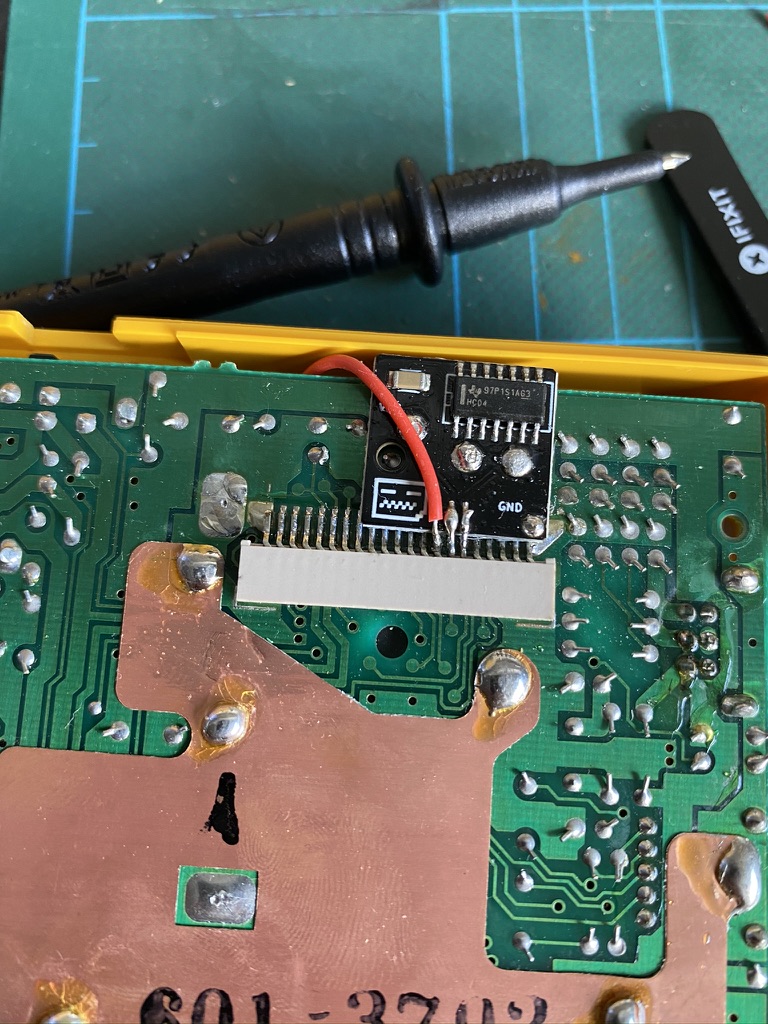
Next, I installed the bivert chip. To do this, you need to desolder and disconnect two pins on the screen cable connector, insert the board underneath, and resolder it. At first I miscounted and lifted the wrong pin, so I tried resoldering it as best I could, crossed my fingers, and finished the installation.

In red, the correct pins, in yellow, the one I accidentally lifted. 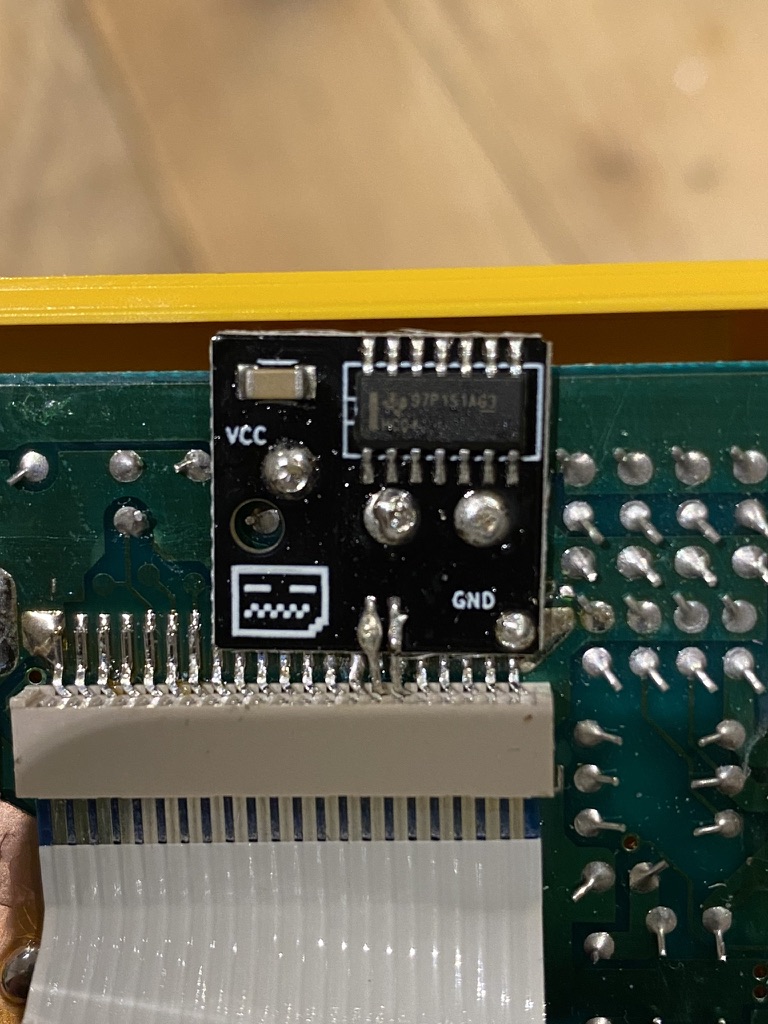
The installed bivert chip, bad soldering and all.
I powered it up and there was light! But no picture 😬
Troubleshooting
I knew the Game Boy as a whole was still working correctly, as I could hear the audio for the game. I guessed that the culprit was either my shoddy soldering on the bivert chip (turns out soldering is harder than I remember!), or I didn’t repair the damage correctly when I lifted the wrong pin.
It turned out to be a combination of both. After some testing with a multimeter (and a lot of help from @SofaRacing and @elsmorian), I discovered that one of the solder connections on the bivert board wasn’t making contact properly (so I re-did it), and also that there was no connection between the pin I lifted and its intended destination.
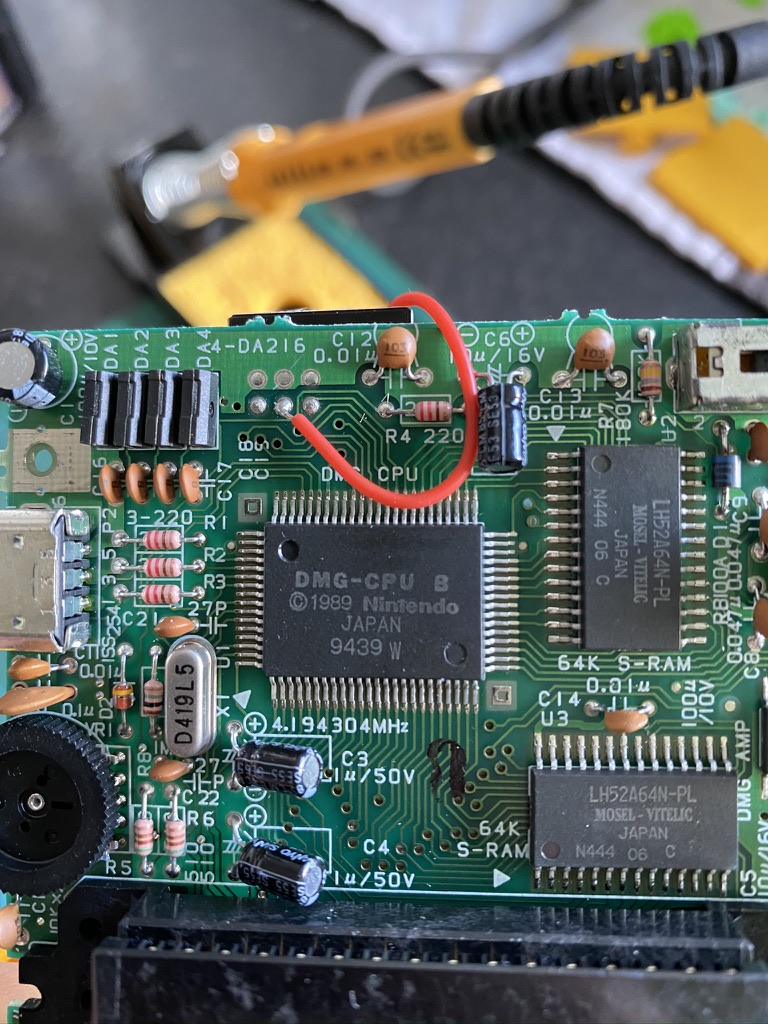
To work around this I added a new wire that ran from the pin, over the top of the board, to the other side. I couldn’t help but think about the similarities with writing software as I was debugging the issue and fitting my workaround.
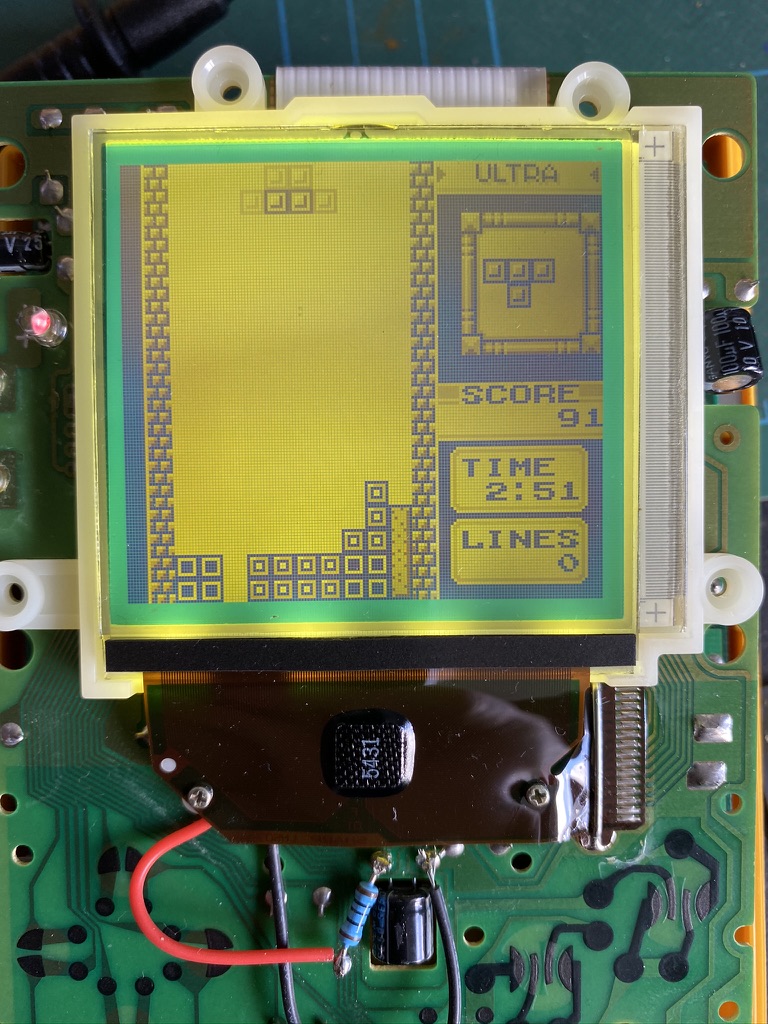
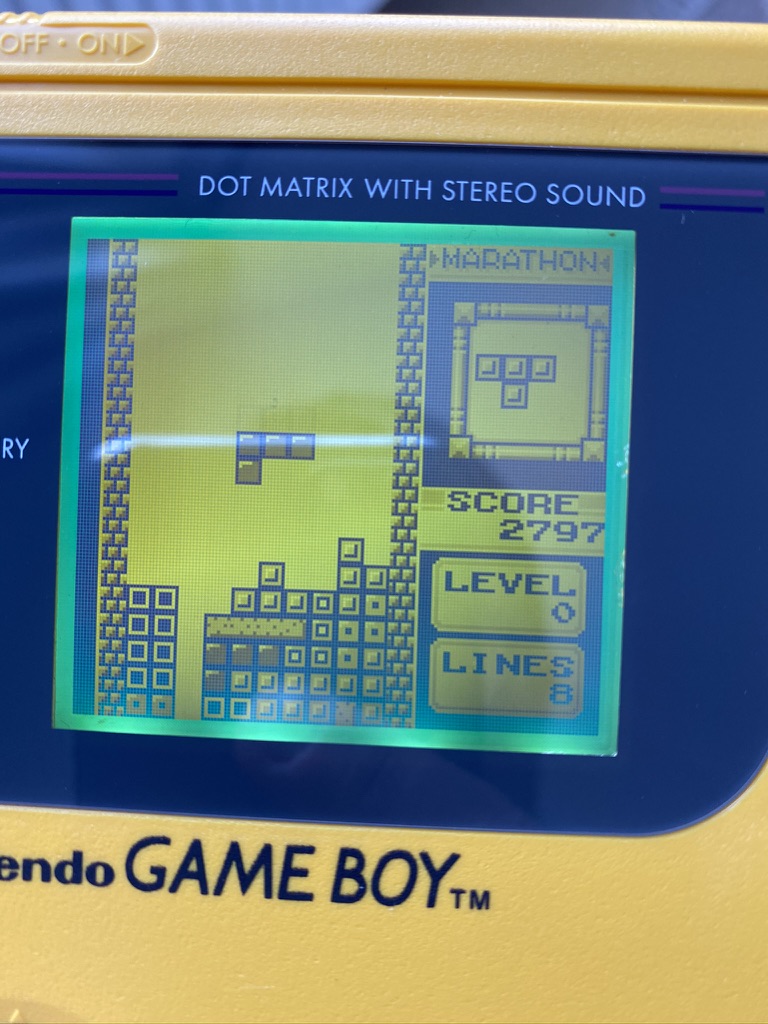
I turned the unit back on, and there was a picture! Tetris looked great with the backlight:

Wrapping up
I finished things up with a new glass screen lens, and new start and select buttons to match the cyan border around the screen.
It wasn’t the neatest installation, but I was pretty happy for my first attempt. The finished device looks great.
-
Also known as the DMG because of its model number: DMG-01. DMG stands for Dot Matrix Game. ↩


